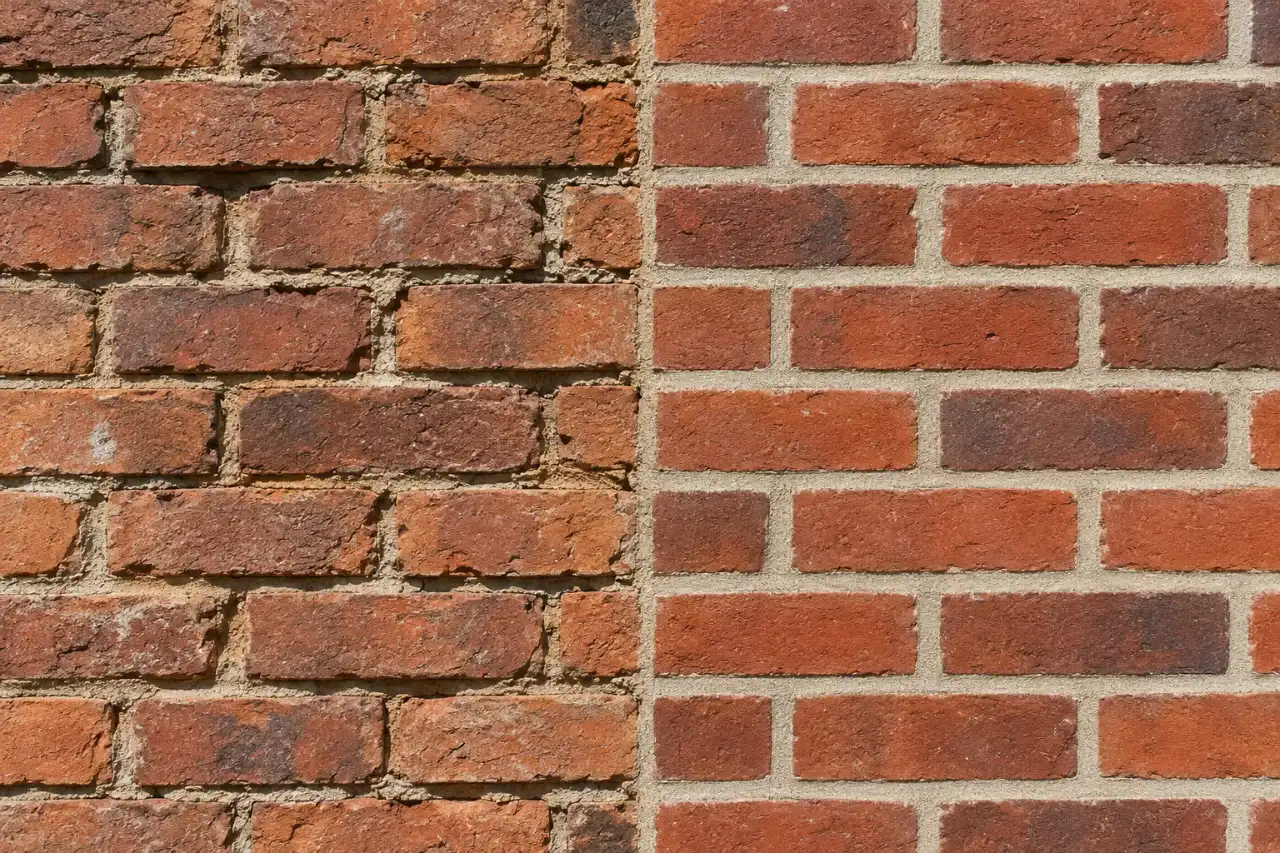
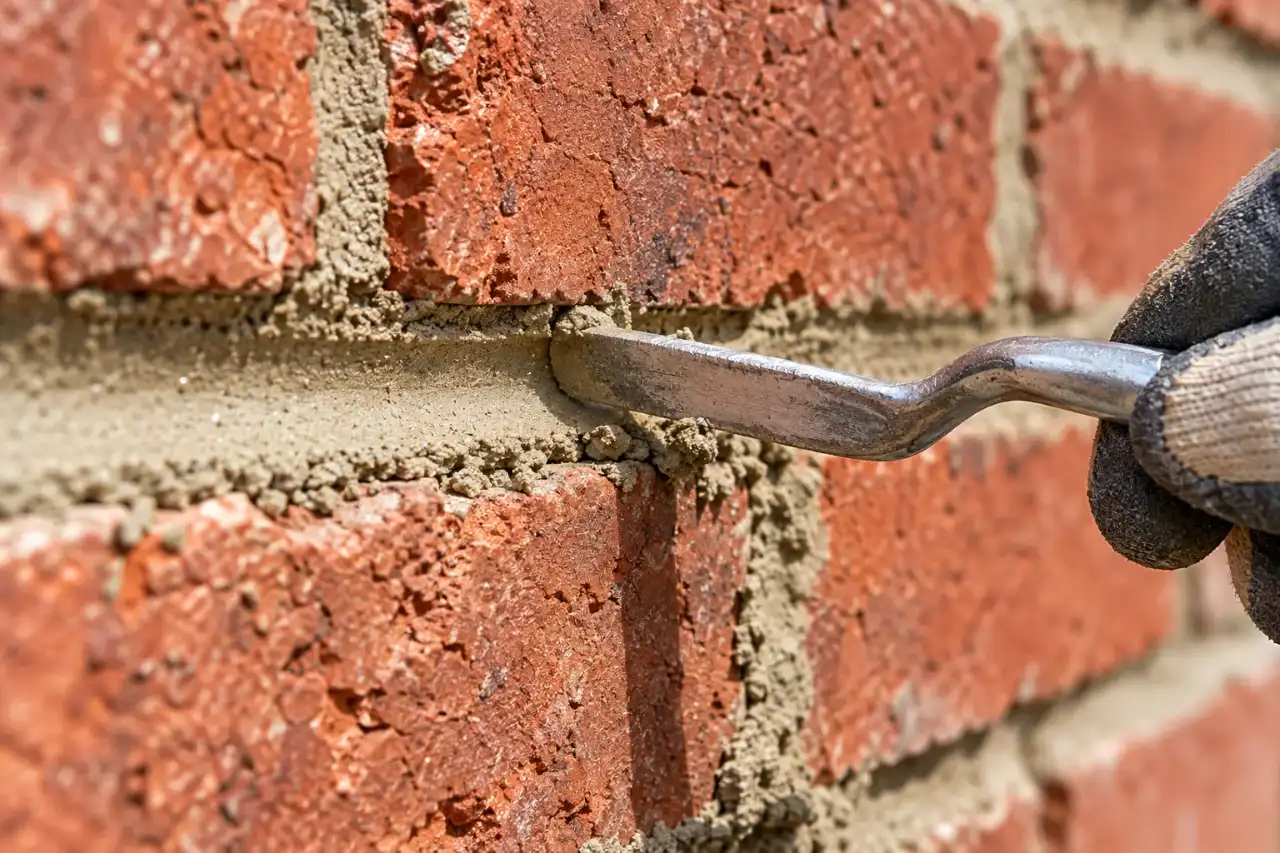
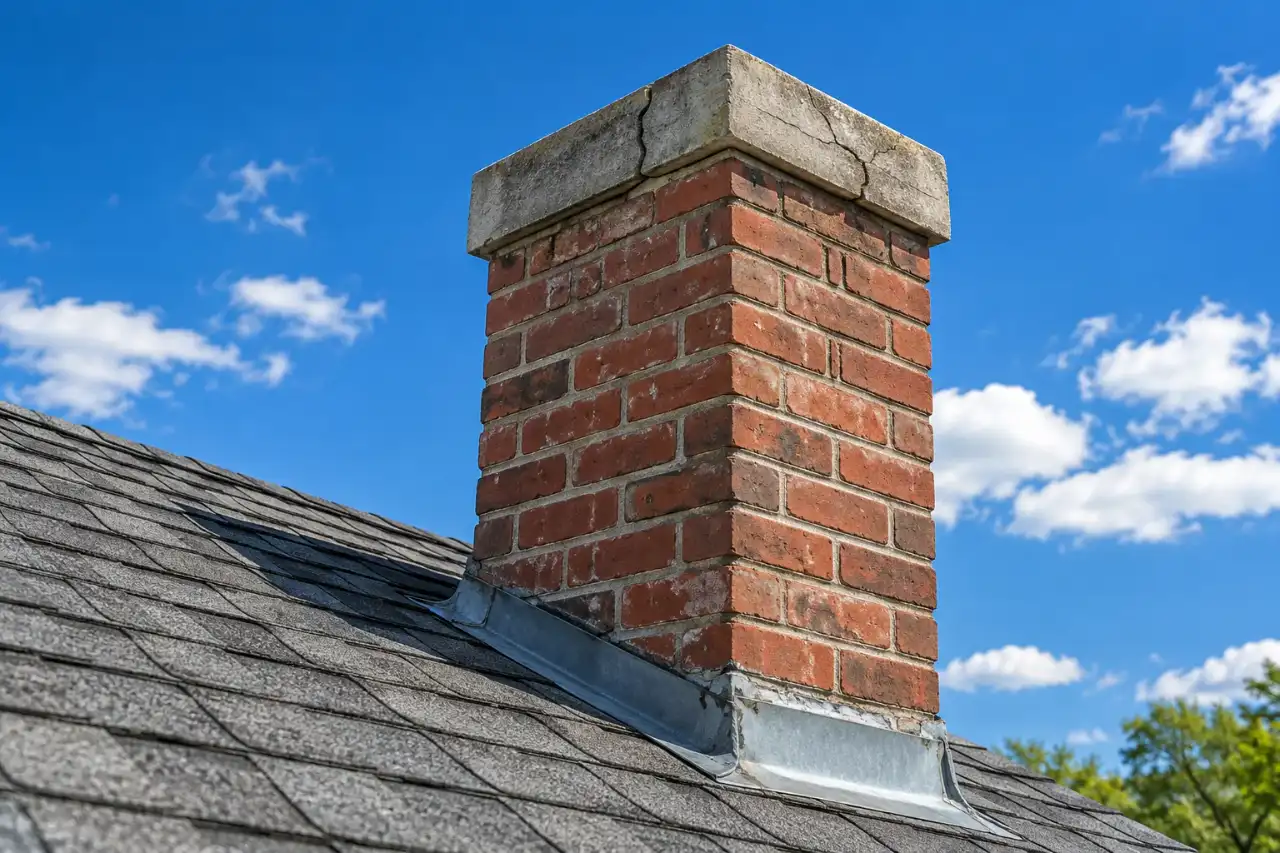
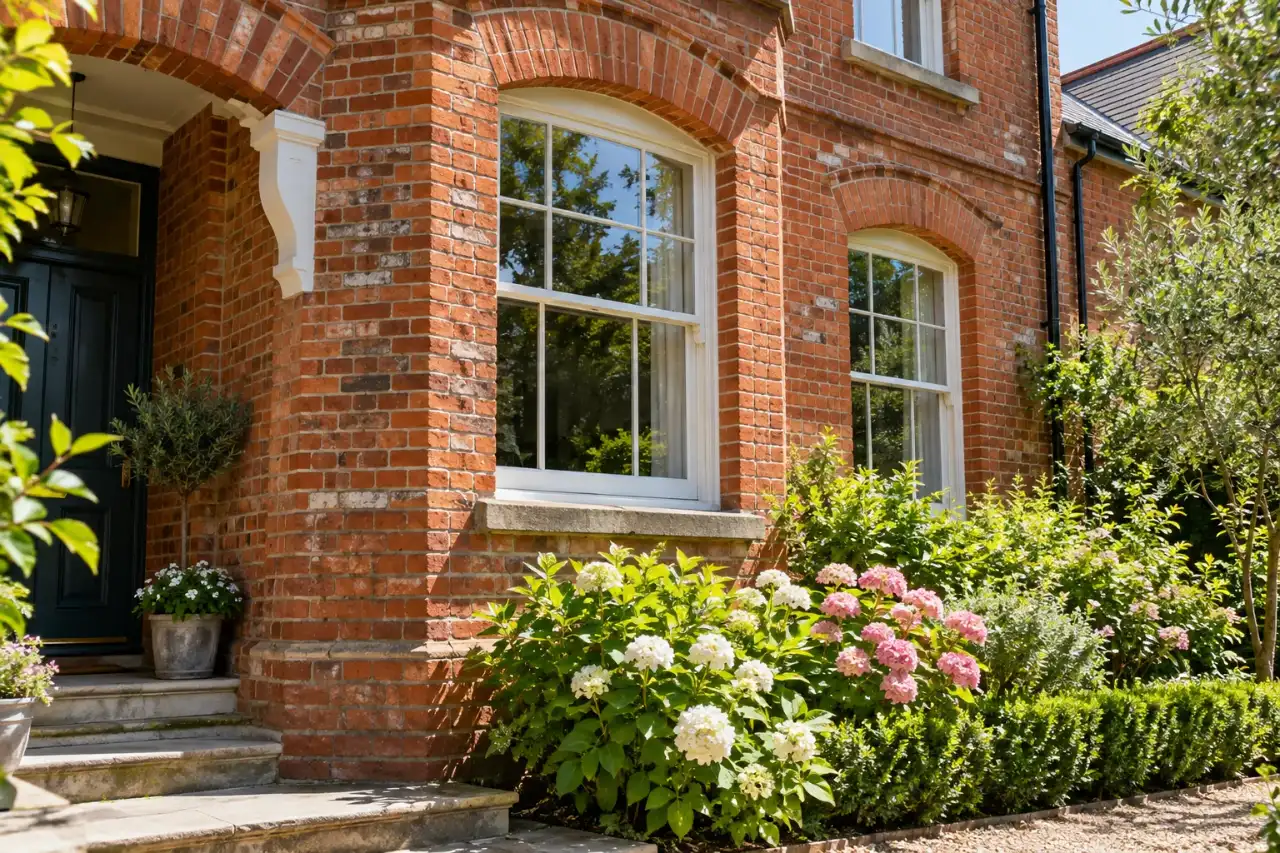
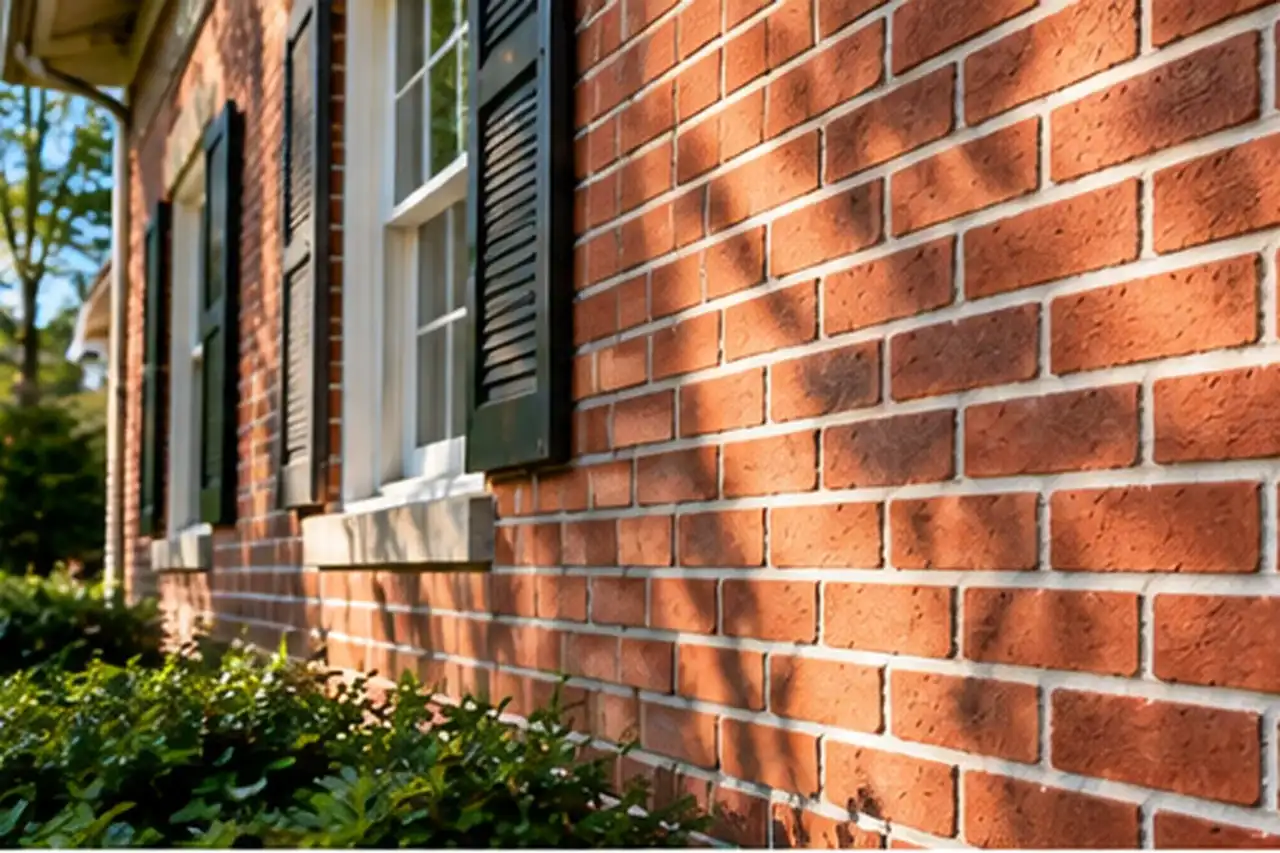
When mortar turns sandy, cracks or recedes from the face of the brick, water gets into the wall. Repointing removes the failing mortar and replaces it with a mix chosen to work with your brick, not against it.
Most people in Salt Lake City, and across the country, say "tuckpointing" when they mean replacing worn out mortar between bricks. That's the work this page covers, and it's what you'll get if you ask us for tuckpointing.
Strictly speaking, the technical term for that work is repointing: removing deteriorated mortar from the joints to a sound depth and replacing it with new mortar. National Park Service guidance on historic masonry uses this definition (NPS Preservation Brief 2).
Traditional tuckpointing is a more specific, decorative technique. The joints are filled with mortar colored to blend with the brick, and then a fine, contrasting line is applied along each joint to make the brickwork look crisper and more uniform than it really is. It's mainly found on historic buildings.
In everyday use the two terms overlap, and that's fine. What matters is that the mortar going into your wall is right for it. For a closer look at the history and differences, see our article on tuckpointing vs repointing.
Signs Your Mortar Joints Need Attention
Mortar deterioration is usually visible before it causes bigger problems. Look for:
Recessed joints, where the mortar has worn back noticeably behind the face of the brick.
Sandy or powdery mortar that crumbles when you scrape it with a key or screwdriver.
Gaps and missing mortar, especially at corners, under windowsills and near downspouts.
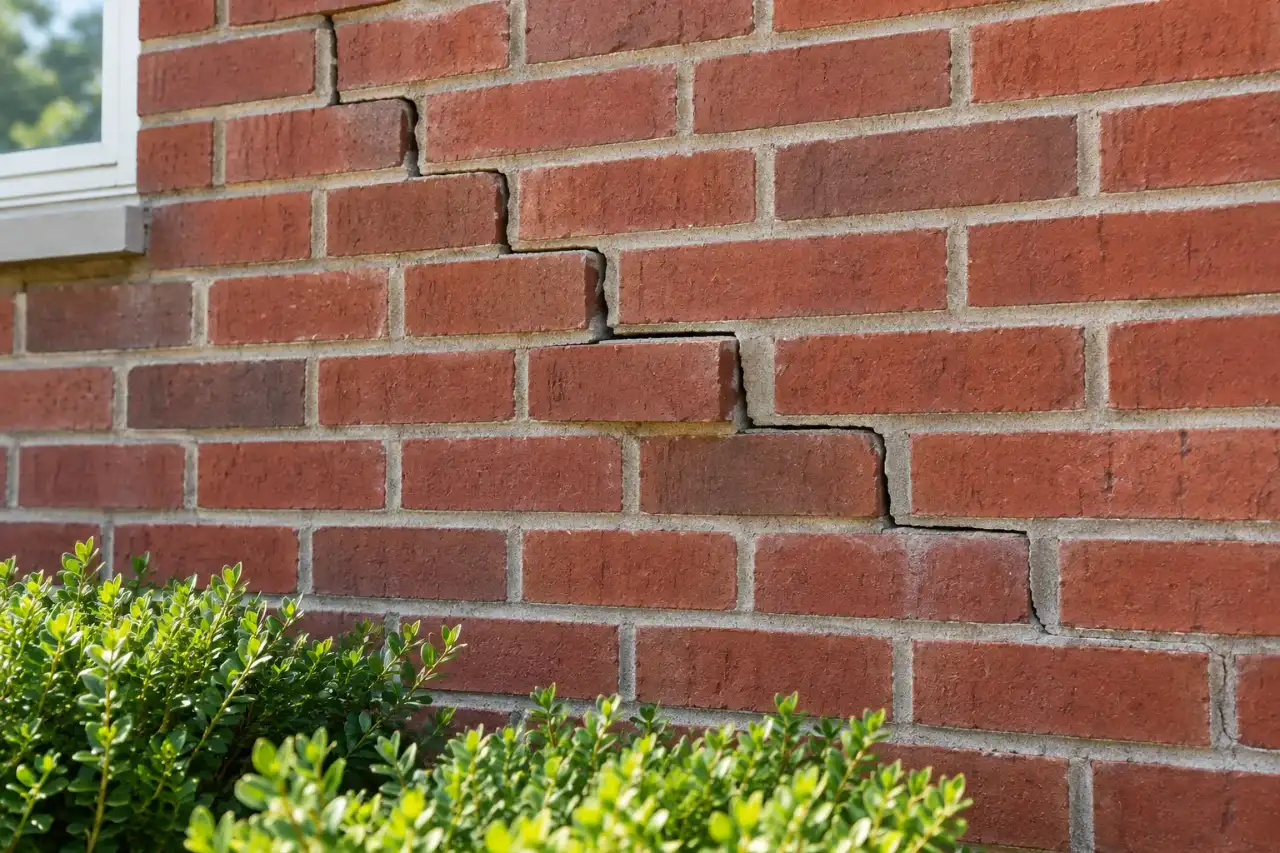
Cracks running along the joints, horizontally or in a stepped pattern.
Loose bricks that shift because the mortar around them has failed.
Damp patches, staining or white deposits on the wall near deteriorated joints.
Worn joints rarely exist in isolation, so they need to be assessed alongside the condition of the bricks and any signs of movement. If the bricks themselves are cracked or spalling, some brick replacement may be needed as well, which is covered on our masonry and brick repair page. If cracks are being caused by ongoing movement, repointing alone won't stop them from coming back.
Choosing Compatible Mortar
Mortar isn't one product. Modern masonry mortars are made from portland cement, lime and sand in different proportions, and they're grouped into types by strength. The Brick Industry Association's selection guidance explains the most common ones (BIA Technical Note 8B):
Type S
Type S is a higher strength mortar, used where structural demands are greater.
Type N
Type N is a medium strength, general purpose mortar widely used for exterior brickwork above ground.
Type O
Type O is a lower strength mortar with a higher proportion of lime.
Lime based mortars go back further. Before portland cement came into wide use, mortar was typically made mostly of lime and sand. These mortars are softer and more permeable to moisture, and they're often the starting point for repointing historic brick.
The key point for homeowners: stronger is not automatically better. BIA guidance stresses choosing a mortar whose strength suits the application, and the right choice depends on the existing brick, the original mortar and how exposed the wall is. A house's age alone doesn't settle it. Two walls built in the same decade can need different mixes.
Mortar Compatibility With Older Brick
This is where repointing most often goes wrong. Many older bricks are softer and more porous than modern ones. When they're repointed with a hard, dense cement mortar, the mortar can end up stronger and less permeable than the brick around it.
That reverses how the wall is supposed to work. Masonry moves slightly with temperature and moisture, and water that gets in needs a way out. With compatible mortar, the joints take most of that stress and let moisture escape, so the mortar is the part that eventually wears and gets replaced. With mortar that's too hard, stress and moisture concentrate in the brick instead, and the brick edges and faces can crack or spall. BIA notes this risk in its guidance on repointing historic masonry, and NPS guidance calls for replacement mortar compatible with the existing masonry in strength and permeability.
That doesn't mean every older wall needs the softest possible mix. BIA's guidance favors testing and evaluating the existing materials over defaulting to one mortar type for every old wall. The goal is compatibility: matching the mortar to the brick in front of you, not to a rule of thumb.
Get an Estimate
Photos and an address are the fastest way to a useful answer.
Good repointing is slower and more careful than it looks. At an overview level, the work follows these stages:
1
Assessment
Identify which joints have failed, what the existing mortar is like, and whether any bricks need replacing or any movement needs addressing first.
2
Removal
Remove deteriorated mortar without chipping or widening the edges of the brick. NPS guidance recommends removing mortar to a depth of about two to two and a half times the joint's width, and deeper wherever the mortar is still loose. The actual depth depends on the wall and its joints.
3
Preparation
Clean dust and debris out of the joints so the new mortar can bond.
4
Packing
Fill deeper joints in layers rather than all at once, letting each layer firm up before the next.
5
Tooling
Shape the final layer to the right joint profile once the mortar has stiffened enough.
6
Curing
Protect the new mortar from drying too fast, freezing or heavy rain while it cures.
Shortcuts at any stage show up later. Joints that are raked out too shallow, for example, can leave a thin skin of new mortar sitting on weak old material, and that skin is prone to cracking and falling out.
Temperature and Weather Limits for Mortar Work
Mortar needs reasonable conditions to cure properly, and Salt Lake City's weather swings between cold winters and hot, dry summers. BIA's guidance on hot- and cold weather construction sets out when extra measures become necessary (BIA Technical Note 1):
Cold weather
Below about 40°F, cold weather procedures come into play, such as protecting materials and covering or enclosing fresh work so it doesn't freeze before it gains strength.
Hot, dry and windy weather
BIA's hot weather measures apply above 100°F, or above 90°F when wind exceeds 8 mph. Heat and wind pull water out of fresh mortar too quickly, which can weaken it. Salt Lake City's average July high is 94°F, according to NOAA's 1991 to 2020 climate normals, so summer repointing often needs shading, misting or careful timing.
These are triggers for protection measures, not a fixed stop work temperature. The mortar product's own requirements and the actual forecast for the days after the work also matter. Repointing can be done in more of the year than many people assume, as long as the work is protected appropriately.
Matching Mortar Color and Joints
New mortar that doesn't match stands out on an otherwise uniform wall, so matching is part of doing the job well. The appearance of mortar comes from several things:
NPS guidance recommends judging a match from a test area that has fully cured, not from wet mortar. It's also worth setting realistic expectations: existing mortar has weathered and collected dirt over decades, so new joints may look slightly different at first even when the mix is right, and will tone down with exposure.
✓
Sand
The color and size of the sand drive most of a mortar's color and texture.
✓
Binder and pigment
The lime and cement used, and any pigment added, shift the tone.
✓
Joint profile
The shape of the finished joint, such as concave, flush or raked, changes how light and shadow fall across the wall.
✓
Curing
Fresh mortar looks different from cured mortar, and it can take weeks to settle into its final color.
How Long Repointing Can Last
Well done repointing should last many years, but there's no single figure that applies to every wall. BIA's maintenance guidance gives estimated repair intervals only as conditional estimates, because the real lifespan depends on:
The last point is often the deciding one. Repointing a wall that stays soaked from a broken gutter will wear out faster than the same work on a dry wall. Expected durability is also different from a warranty. Any warranty terms should be spelled out in your written estimate.
✓
How thoroughly the old mortar was removed and the joints prepared.
✓
Whether the new mortar is compatible with the brick.
✓
How exposed the wall is to sun, wind and driving snow.
✓
Whether water sources such as roof runoff, failed gutters or a leaking cap have been corrected.
What Affects the Cost of Repointing
Repointing is priced by the work involved, which varies a lot from one wall to the next:
Our estimates are free, and the estimate should spell out which areas are included so you can compare quotes on the same scope.
✓
How much of the wall needs it
Spot repointing a few areas costs far less than repointing an entire elevation.
✓
Joint width and removal difficulty
Narrow joints and hard existing mortar take longer to remove without damaging the brick.
✓
Access
Second story walls, chimneys and tight side yards may need ladders, scaffolding or lifts.
✓
Mortar matching
Custom color or lime mixes and test areas take extra time.
✓
Related brick repairs
Cracked or spalled bricks found during the work may need replacing.
Yes, chimney mortar joints are among the most exposed on a house, and repointing is a common part of chimney work. Because chimneys also involve crowns, flashing and flues, we cover them separately on our chimney repair page.
Often, yes. Repointing just the failed sections is common, especially on walls that see more weather. The trade off is that patched areas can be visible until they weather in.
Only if the cracks were caused by deteriorated mortar. If the wall is moving because of settlement or another structural issue, new mortar will crack again. That cause needs to be found first, as explained on our masonry and brick repair page.
Repointing exposed foundation masonry above ground can close open joints there, but it is not basement waterproofing. Water coming through below grade walls usually involves drainage, grading or waterproofing work that's outside repointing.
It can, both in mortar choice and in approvals for locally designated properties. Our masonry restoration page covers historic masonry in Salt Lake City.
If your mortar joints are recessed, crumbling or missing, call Salt Lake City Masonry at (385) 516-8689 or request a free estimate. A wide photo of the wall and a close up of the joints will help us understand what you're dealing with.